






Connecting QuickBooks Online to Salesforce with Apex Code
A developer walkthrough for building a QuickBooks Online to Salesforce integration in Apex: OAuth 2.0, token storage, customer sync, and invoice operations.
Breadwinner Team
July 10, 2026
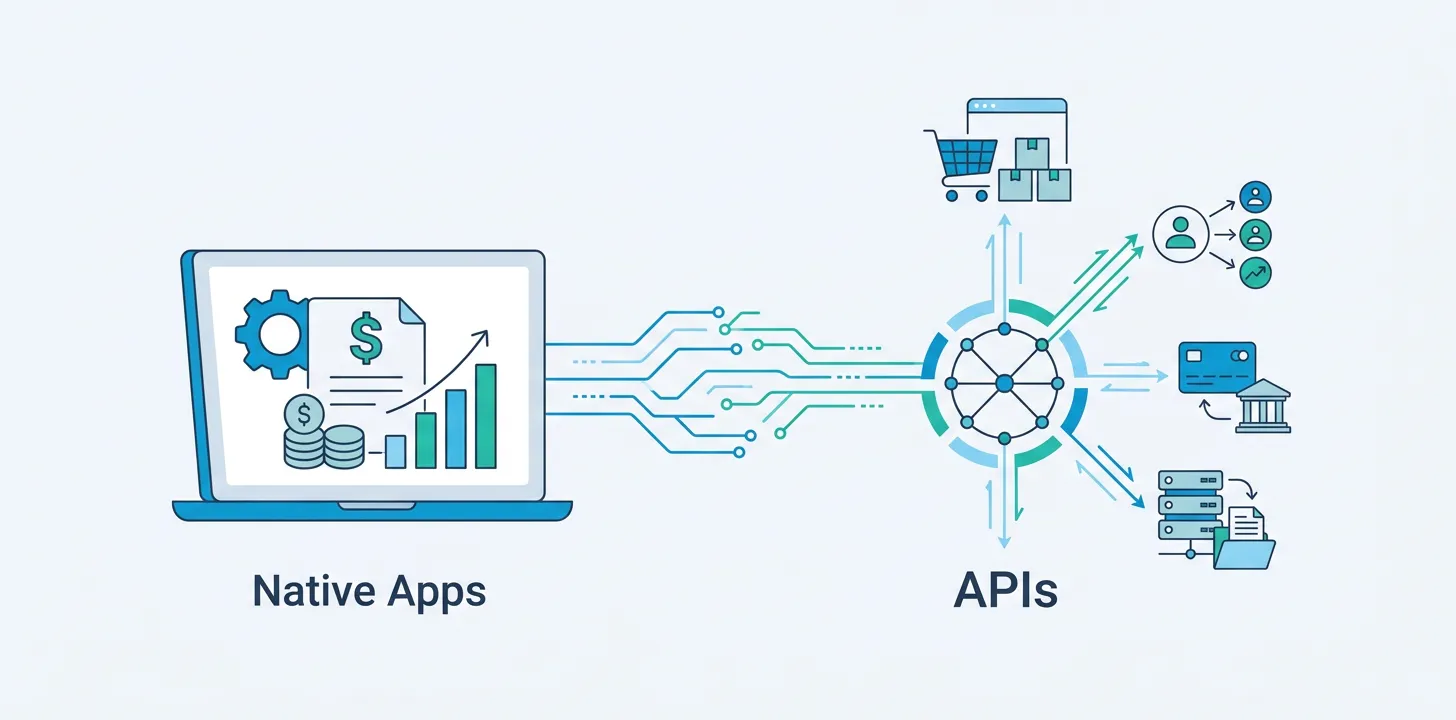
Looking for the product, not the developer guide? Breadwinner is a native QuickBooks Salesforce integration that ships this whole pipeline as a managed AppExchange package — no Apex required. This post is for engineering teams who want to understand the API surface, extend Breadwinner with custom logic, or evaluate what a from-scratch build actually looks like.
The QuickBooks Online REST API is well documented, and OAuth 2.0 works cleanly from Apex — so building a Salesforce-to-QuickBooks connection yourself is genuinely doable. The question isn’t whether you can, it’s whether the ongoing maintenance is worth it once you factor in token refresh, retry logic, rate limits, and every Intuit API version bump. This guide walks through the core pieces so you can make that call with your eyes open.
When a custom Apex integration makes sense
Custom Apex is the right choice in a narrow set of cases: you need behavior that a managed package won’t expose (unusual object mappings, proprietary business logic that has to live inside your sync loop), you’re stitching QuickBooks into a larger Apex-based platform that already owns integrations, or you’re specifically building for a one-off internal tool and won’t need to maintain it for the long haul.
For everything else — real-time bi-directional sync between Salesforce and QuickBooks Online for a production revenue operations workflow — a native Salesforce QuickBooks integration like Breadwinner is going to be cheaper, faster to ship, and lower-risk than reinventing the OAuth flow, token storage, and error handling from scratch. But the mechanics below are worth knowing either way.
Prerequisites
- Admin access to both Salesforce and QuickBooks Online
- An account at the Intuit Developer Portal to register your app and obtain client credentials
- Working knowledge of Apex, HTTP callouts, and OAuth 2.0
- A Salesforce sandbox for the initial integration work (production comes after)
1. Register the QuickBooks endpoints in Remote Site Settings
Before Salesforce can make callouts to QuickBooks, register these three endpoints under Setup → Remote Site Settings:
| Purpose | URL |
|---|---|
| OAuth token endpoint | https://oauth.platform.intuit.com |
| Sandbox API | https://sandbox-quickbooks.api.intuit.com |
| Production API | https://quickbooks.api.intuit.com |
Missing this step is the most common cause of “unauthorized endpoint” callout errors during development. Register all three even if you’re only actively using the sandbox — you’ll want production ready by the time you’re ready to switch.
2. Handling the QuickBooks OAuth 2.0 flow
QuickBooks uses OAuth 2.0 with authorization codes — a step more involved than a simple client credentials grant. The flow requires you to:
- Send the user to Intuit’s consent screen with your client ID
- Receive a one-time authorization code at your registered redirect URI
- Exchange that code (plus your client secret) for an access token and refresh token
- Persist both tokens plus the
realmId(QuickBooks company identifier) in Salesforce
Because Salesforce doesn’t ship with a QuickBooks-shaped credential store, you’ll need a custom object to hold the tokens.
Custom object: QuickBooks_Details__c
Create a custom object with the following fields:
| Field | API Name | Type |
|---|---|---|
| Access Token | Access_Token__c | Long Text (4096) |
| Access Token Expiry | Access_Token_Expiry__c | Number (18, 0) |
| Client Id | Client_Id__c | Text (255) |
| Client Secret | Client_Secret__c | Text (255) |
| RealmId | RealmId__c | Text (255) |
| Refresh Token | Refresh_Token__c | Long Text (512) |
| Refresh Token Expiry | Refresh_Token_Expiry__c | Number (18, 0) |
For a production build, you’ll want the token fields encrypted at rest via Shield Platform Encryption or an equivalent. For sandbox exploration, standard Long Text is fine.
Visualforce redirect page
You need a page at your redirect URI to catch the OAuth callback. A minimal Visualforce page paired with a controller handles both the initial “Authorize” button click and the code exchange when the user returns:
<apex:page controller="qboOAuthHandlerClass"
  action="{!getOAuthTokens}">
  <apex:form>
    <apex:pageMessage
      rendered="{!isAuthorizationSuccess}"
      summary="Authorization is Successful"
      severity="confirm" strength="3" />
    <apex:outputPanel rendered="{!showOAuthButton}">
      <apex:commandButton
        value="Authorize QuickBooks Online"
        onclick="window.open('{!buttonUrl}',
          '_blank');window.close();" />
    </apex:outputPanel>
  </apex:form>
</apex:page>
Register the fully-qualified URL of this Visualforce page as a redirect URI in your QuickBooks app settings on the Intuit Developer Portal.
OAuth handler controller
The controller drives both halves of the flow: on first load it renders the authorize button; on the return trip from Intuit, it reads the code and realmId from the URL and exchanges them for tokens.
public class qboOAuthHandlerClass {

    public String buttonUrl { get; private set; }
    public Boolean showOAuthButton { get; private set; }
    public Boolean isAuthorizationSuccess {
        get; private set;
    }
    public String code;
    public String realmId;
    QuickBooks_Details__c qbRec;

    FINAL String redirect_uri =
        'https://YOUR_DOMAIN.vf.force.com/apex/qboOAuthRedirect';
    FINAL String base_url =
        'https://appcenter.intuit.com/connect/oauth2'
        + '?response_type=code'
        + '&scope=com.intuit.quickbooks.accounting'
        + '&state=testStateSecurity';

    public qboOAuthHandlerClass() {
        showOAuthButton = false;
        isAuthorizationSuccess = false;
        qbRec = [
            SELECT Id, Client_Id__c, Client_Secret__c
            FROM QuickBooks_Details__c LIMIT 1
        ];
        Map<String, String> urlParams =
            ApexPages.currentPage().getParameters();

        if (urlParams.containsKey('code')) {
            code = urlParams.get('code');
            realmId = urlParams.get('realmId');
        } else {
            showOAuthButton = true;
            buttonUrl = base_url
                + '&client_id=' + qbRec.Client_Id__c
                + '&redirect_uri=' + redirect_uri;
        }
    }

    public PageReference getOAuthTokens() {
        if (String.isNotBlank(code)
            && String.isNotBlank(realmId)) {

            Blob headerValue = Blob.valueOf(
                qbRec.Client_Id__c + ':'
                + qbRec.Client_Secret__c
            );
            String authorizationHeader = 'Basic '
                + EncodingUtil.base64Encode(headerValue);
            String payload =
                'grant_type=authorization_code'
                + '&code=' + code
                + '&redirect_uri=' + redirect_uri;

            HttpRequest req = new HttpRequest();
            req.setEndpoint(
                'https://oauth.platform.intuit.com'
                + '/oauth2/v1/tokens/bearer'
            );
            req.setMethod('POST');
            req.setHeader('Authorization',
                authorizationHeader);
            req.setHeader('Content-Type',
                'application/x-www-form-urlencoded');
            req.setHeader('Accept', 'application/json');
            req.setBody(payload);

            Http http = new Http();
            HTTPResponse res = http.send(req);

            if (res.getStatusCode() == 200
                && res.getBody() != null) {
                isAuthorizationSuccess = true;
                updateTokensInSalesforce(
                    res.getBody(), realmId, qbRec.Id
                );
            }
        }
        return null;
    }

    public static void updateTokensInSalesforce(
        String responseBody,
        String realmId,
        Id qbRecId
    ) {
        Map<String, Object> respMap =
            (Map<String, Object>)
            JSON.deserializeUntyped(responseBody);

        QuickBooks_Details__c qbRec =
            new QuickBooks_Details__c(Id = qbRecId);

        if (respMap.containsKey('access_token'))
            qbRec.Access_Token__c =
                String.valueOf(
                    respMap.get('access_token')
                );
        if (respMap.containsKey('refresh_token'))
            qbRec.Refresh_Token__c =
                String.valueOf(
                    respMap.get('refresh_token')
                );
        if (respMap.containsKey('expires_in'))
            qbRec.Access_Token_Expiry__c =
                Integer.valueOf(
                    respMap.get('expires_in')
                );
        if (respMap.containsKey(
            'x_refresh_token_expires_in'))
            qbRec.Refresh_Token_Expiry__c =
                Integer.valueOf(
                    respMap.get(
                        'x_refresh_token_expires_in'
                    )
                );
        if (String.isNotBlank(realmId))
            qbRec.RealmId__c = realmId;

        update qbRec;
    }
}
Replace YOUR_DOMAIN in the redirect_uri with your actual Visualforce domain. Once this class runs successfully end-to-end, you have persisted tokens and a realmId — enough to authenticate every subsequent QuickBooks API call.
3. Reading and creating QuickBooks Customers
With tokens in hand, the rest of the API is straightforward: bearer-token authenticated HttpRequest calls to the appropriate endpoint. QuickBooks queries use a SQL-like syntax that’s URL-encoded into the query parameter — for example, select * from Customer where id = '29' fetches a specific customer.
Read customers from QuickBooks
public class qboCustomersClass {
    public static final String BASE_URL =
        'https://sandbox-quickbooks.api.intuit.com'
        + '/v3/company/';

    public static void getQBOCustomers() {
        QuickBooks_Details__c qbRec = [
            SELECT Id, RealmId__c, Access_Token__c
            FROM QuickBooks_Details__c LIMIT 1
        ];

        String reqURL = BASE_URL
            + qbRec.RealmId__c
            + '/query?query='
            + EncodingUtil.urlEncode(
                'select * from Customer', 'UTF-8'
            )
            + '&minorversion=69';

        HttpRequest req = new HttpRequest();
        req.setEndpoint(reqURL);
        req.setMethod('GET');
        req.setHeader('Authorization',
            'Bearer ' + qbRec.Access_Token__c);
        req.setHeader('Accept', 'application/json');

        Http http = new Http();
        HTTPResponse res = http.send(req);

        if (res.getStatusCode() == 200
            && res.getBody() != null) {
            String responseBody = res.getBody();
            // Process customer data here
        }
    }
}
Create a new QuickBooks customer
Creating a customer is a POST to the /customer endpoint with a JSON body describing the customer:
public static void createQBOCustomer() {
    QuickBooks_Details__c qbRec = [
        SELECT Id, RealmId__c, Access_Token__c
        FROM QuickBooks_Details__c LIMIT 1
    ];

    String reqURL = BASE_URL
        + qbRec.RealmId__c
        + '/customer?minorversion=69';

    String requestBody = '{'
        + '"DisplayName": "King\'s Groceries",'
        + '"CompanyName": "King Groceries",'
        + '"GivenName": "James",'
        + '"MiddleName": "B",'
        + '"FamilyName": "King",'
        + '"Title": "Mr",'
        + '"Suffix": "Jr",'
        + '"PrimaryEmailAddr": {'
        + '  "Address": "jdrew@myemail.com"'
        + '},'
        + '"PrimaryPhone": {'
        + '  "FreeFormNumber": "(555) 555-5555"'
        + '},'
        + '"BillAddr": {'
        + '  "Line1": "123 Main Street",'
        + '  "City": "Mountain View",'
        + '  "CountrySubDivisionCode": "CA",'
        + '  "PostalCode": "94042",'
        + '  "Country": "USA"'
        + '},'
        + '"Notes": "Here are other details."'
        + '}';

    HttpRequest req = new HttpRequest();
    req.setEndpoint(reqURL);
    req.setMethod('POST');
    req.setHeader('Content-Type',
        'application/json');
    req.setHeader('Authorization',
        'Bearer ' + qbRec.Access_Token__c);
    req.setHeader('Accept', 'application/json');
    req.setBody(requestBody);

    Http http = new Http();
    HTTPResponse res = http.send(req);

    if (res.getStatusCode() == 200
        && res.getBody() != null) {
        String responseBody = res.getBody();
        // Process response here
    }
}
The response includes the newly-created Id, which you should persist against your Salesforce record so subsequent updates can PATCH the same customer rather than creating duplicates.
4. Reading and creating QuickBooks Invoices
The pattern is identical to Customers — just point at the /invoice endpoint.
Read invoices from QuickBooks
public class qboInvoicesClass {
    public static final String BASE_URL =
        'https://sandbox-quickbooks.api.intuit.com'
        + '/v3/company/';

    public static void getQBOInvoices() {
        QuickBooks_Details__c qbRec = [
            SELECT Id, RealmId__c, Access_Token__c
            FROM QuickBooks_Details__c LIMIT 1
        ];

        String reqURL = BASE_URL
            + qbRec.RealmId__c
            + '/query?query='
            + EncodingUtil.urlEncode(
                'select * from Invoice', 'UTF-8'
            )
            + '&minorversion=69';

        HttpRequest req = new HttpRequest();
        req.setEndpoint(reqURL);
        req.setMethod('GET');
        req.setHeader('Authorization',
            'Bearer ' + qbRec.Access_Token__c);
        req.setHeader('Accept', 'application/json');

        Http http = new Http();
        HTTPResponse res = http.send(req);

        if (res.getStatusCode() == 200
            && res.getBody() != null) {
            String responseBody = res.getBody();
            // Process invoice data here
        }
    }
}
Create a QuickBooks invoice
The body needs at least a CustomerRef and one Line item:
public static void createQBOInvoice() {
    QuickBooks_Details__c qbRec = [
        SELECT Id, RealmId__c, Access_Token__c
        FROM QuickBooks_Details__c LIMIT 1
    ];

    String reqURL = BASE_URL
        + qbRec.RealmId__c
        + '/invoice?minorversion=69';

    String requestBody = '{'
        + '"CustomerRef": { "value": "58" },'
        + '"Line": [{'
        + '  "DetailType": "SalesItemLineDetail",'
        + '  "Amount": 100,'
        + '  "SalesItemLineDetail": {'
        + '    "ItemRef": {'
        + '      "name": "Services",'
        + '      "value": "1"'
        + '    }'
        + '  }'
        + '}]'
        + '}';

    HttpRequest req = new HttpRequest();
    req.setEndpoint(reqURL);
    req.setMethod('POST');
    req.setHeader('Content-Type',
        'application/json');
    req.setHeader('Authorization',
        'Bearer ' + qbRec.Access_Token__c);
    req.setHeader('Accept', 'application/json');
    req.setBody(requestBody);

    Http http = new Http();
    HTTPResponse res = http.send(req);

    if (res.getStatusCode() == 200
        && res.getBody() != null) {
        String responseBody = res.getBody();
        // Process response here
    }
}
The "value": "58" in CustomerRef is the QuickBooks Customer ID — the one returned when you created the customer. Same pattern for ItemRef — that’s a QuickBooks Item ID that must already exist in your QuickBooks catalog.
5. Automating the sync
Ad-hoc getQBOCustomers() calls are fine for development, but production integrations need automation. Two patterns cover most cases:
Flow-triggered sync. Wrap the customer and invoice creation methods with @InvocableMethod so they can be called from Salesforce Flow. A Record-Triggered Flow on Opportunity (stage = Closed Won) can then push a QuickBooks invoice automatically the moment a deal closes.
Scheduled sync. Implement a Schedulable class that runs getQBOInvoices() on an interval — hourly, or bi-hourly — pulling paid/overdue status back from QuickBooks into Salesforce so your account records stay current without manual work.
What the code above doesn’t cover
The examples in this post are enough to prove the concept and see data flowing. A production-grade custom integration between QuickBooks Online and Salesforce needs meaningfully more:
- Token refresh & credential security. Access tokens expire in an hour. You need a scheduled job that refreshes them before expiry, encrypted storage for client secrets in production, and graceful 401 handling for the case where a token expires mid-transaction.
- Error handling & retry logic. QuickBooks rate-limits at 500 requests/minute per company, returns 5xx on transient issues, and can return partial successes on bulk operations. All of that needs retry with backoff, dead-letter queuing, and admin-visible error surfacing.
- Race conditions. Concurrent edits from Salesforce and QuickBooks users on the same record need conflict resolution — last-write-wins is the naive answer and it silently loses data.
- Lightning Web Components. Reading data via callouts is one thing; giving your Salesforce users a nice UI for QuickBooks invoices, payments, and customers directly on the Account page is another engineering effort entirely.
- Multi-currency, tax codes, credit notes, estimates, and items. The long tail of accounting complexity — every one of which needs its own object mapping and field logic.
- API version maintenance. Intuit deprecates minor versions of the QuickBooks API on a rolling basis. Every deprecation is a code change and a redeploy.
Each of these is 1-2 weeks of engineering, minimum. The cumulative maintenance load is where most in-house builds start to feel expensive.
The alternative: Breadwinner as a managed package
If the point of the exercise is to get Salesforce and QuickBooks talking in production — not to own the integration code — a native app closes the gap in an afternoon. Breadwinner for QuickBooks ships as an AppExchange managed package with:
- Pre-built Lightning Web Components for invoices, customers, payments, and estimates on the Account page
- The full OAuth flow, token refresh, retry logic, and race-condition handling maintained by Breadwinner
- SOC 2 Type II audited with continuous security review
- An Apex API and Salesforce Flow support for the custom logic you do want to write yourself
Most engineering teams who started with a custom Apex build like the one in this post migrate to Breadwinner within 12-18 months once the maintenance cost becomes visible. If you’re evaluating up front, it’s worth pricing both options before committing.
Either way, the mechanics above are the shape of the QuickBooks Online API from Apex. Take what you need.
Related reading
- QuickBooks Salesforce integration — the product page
- Xero to Salesforce Apex guide — same pattern, different accounting system
- Common QuickBooks and Salesforce integration mistakes — data-quality pitfalls to avoid